Saturday 26 September 2020

FIW 40mm Trident Figures

 Last week it was my turn to chose a period for the Southern Strategists League of Gentlemen Wargamers' fortnightly game. A couple of our members, Dave 'Tex' Houston and the venerable Chris Packer, had recently painted up some FIW 40mm Trident figures and, as this is one of my favourite periods, I thought it would be good to see how they performed. Trident are now produced in Wellington, New Zealand, and for once those Kiwis looking to buy some won't have to pay excessive postage that we normally have to when buying figures from the US and the UK. We used 'Rebels and Patriots' rules for this skirmish game and these provided a bloody encounter that was decided within a couple of hours...ideal for an evening club game.

British infantry

The Last of the Mohican characters

The British force that came second in the skirmish and which were decimated by French fire when crossing open ground. Poor dice throwing on my part didn't help things much. 

The dreaded Indian allies of the French. Very potent in outflanking regular troops and hard to kill.

The French commander...the officer in grey.

British light infantry

American Provincials. They held the right flank and were destroyed by the indians. 

Highland troops in campaign dress.

Chris's Regiment de la Reine (the Queen's Regiment)

French Compagnie Franches de la Marine


The indians about to destroy the provincials on the right flank.


British grenadiers


The scene during the last move of the game, with the indians having wiped out the provincials and a company of regulars before attacking the British centre.

A lone British sentry preparing to defend the fort (which played no part in the scenario). The fort was scratch-built by Rodger Wood of Rebel Barracks fame.

So not a great result for me regarding how the game went for the British, but certainly a fun time playing the period with some superb figures. I have certainly been inspired to get some myself.
Checkout the Trident website if you are interested in buying some.

Until next time!   


Sunday 20 September 2020

 After a month or two of intermittent painting I am pleased to introduce the 1st battalion of the Regiment de Guyenne as the latest infantry unit to join my SYW/ FIW French army. The Front Rank figures were easy to paint and a splash of Citadel Fleshshade gives some definition to the faces. The flags are from GMB Flags.


.
The sergeant on the right pointing at the enemy is one of my favourite poses in the French SYW range

The royal livery of the drummers isn't quite right, but it was easier to leave some lace off 


Note the grenadiers with moustaches on the left. I had to order these separately as they are not included in the battalion packs

The colour I used for the coats was Vallejo Game Color Ghost Grey and I think it's not a bad representation of what I think the regular French infantry coats may have looked like. I'm sure others may disagree, but I'm happy with it.

  I have another French infantry unit undercoated and ready for some colour. It will probably represent the Dauphin's regiment as it's regimental standard is superb. At this stage all of my regiments are only represented with one battalion, but my thinking is to include two or three regiments having two battalions and having them fighting together, as was historically correct for campaigns in the European theatre. Anyway, it's back to the painting table while my painting 'mojo' hasn't run out.

Thanks for taking a look.

Until next time!  

Tuesday 23 June 2020

SYW British 24th Foot in 28 mm

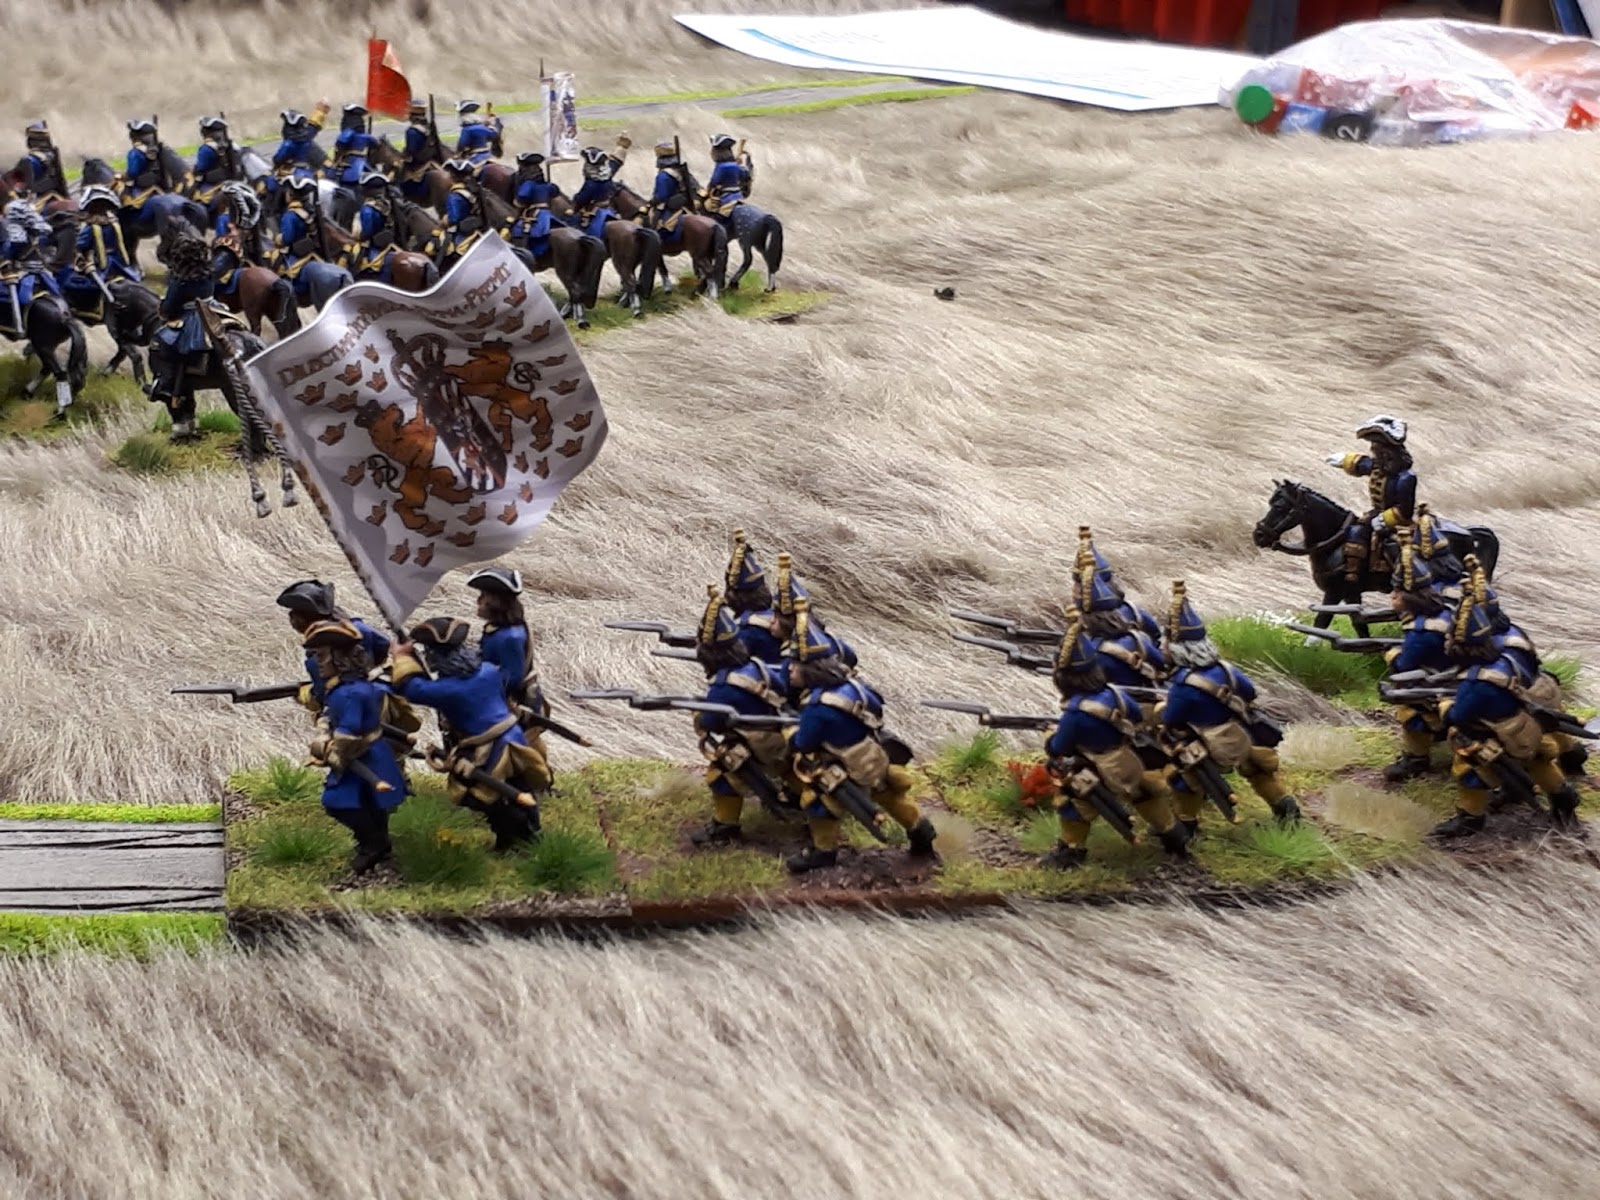
Well, I've finally finished painting up the newest unit in my SYW/ FIW British force...although it's taken me since Christmas to do it. This green-faced regiment represents the 24th Foot (Cornwallis's) which fought in the battle of Minden in 1759. Although the GMB flags I've used are correct for the 24th Foot, I will probably use this unit of Front Rank figures as a generic green-faced regiment for any other theatre or campaign where the 24th did not serve, such as the French and Indian War in American. The thought of painting all the white lace gave me a mental block in finishing the unit sooner, but sometimes you just have to box on by painting a small  number of figures at one time. The purists among you will also note that my positioning of the flags is not historically correct as the Union Jack should be on the right. Many years ago when building my AWI British army I mistakenly placed the Union Jack on the left in the very first unit I painted, and being too lazy to change it, now all my British units have the standards in this configuration. I also had a problem with a bit of 'frosting' when I sprayed the figures with Army Painter matt varnish. I had never struck this before, but I put it down to 'driver error' on my part by not giving it enough time to dry before spraying a second coat.

The snake fences might be out of place at the battle of Minden, but certainly fine for the FIW campaigns. 
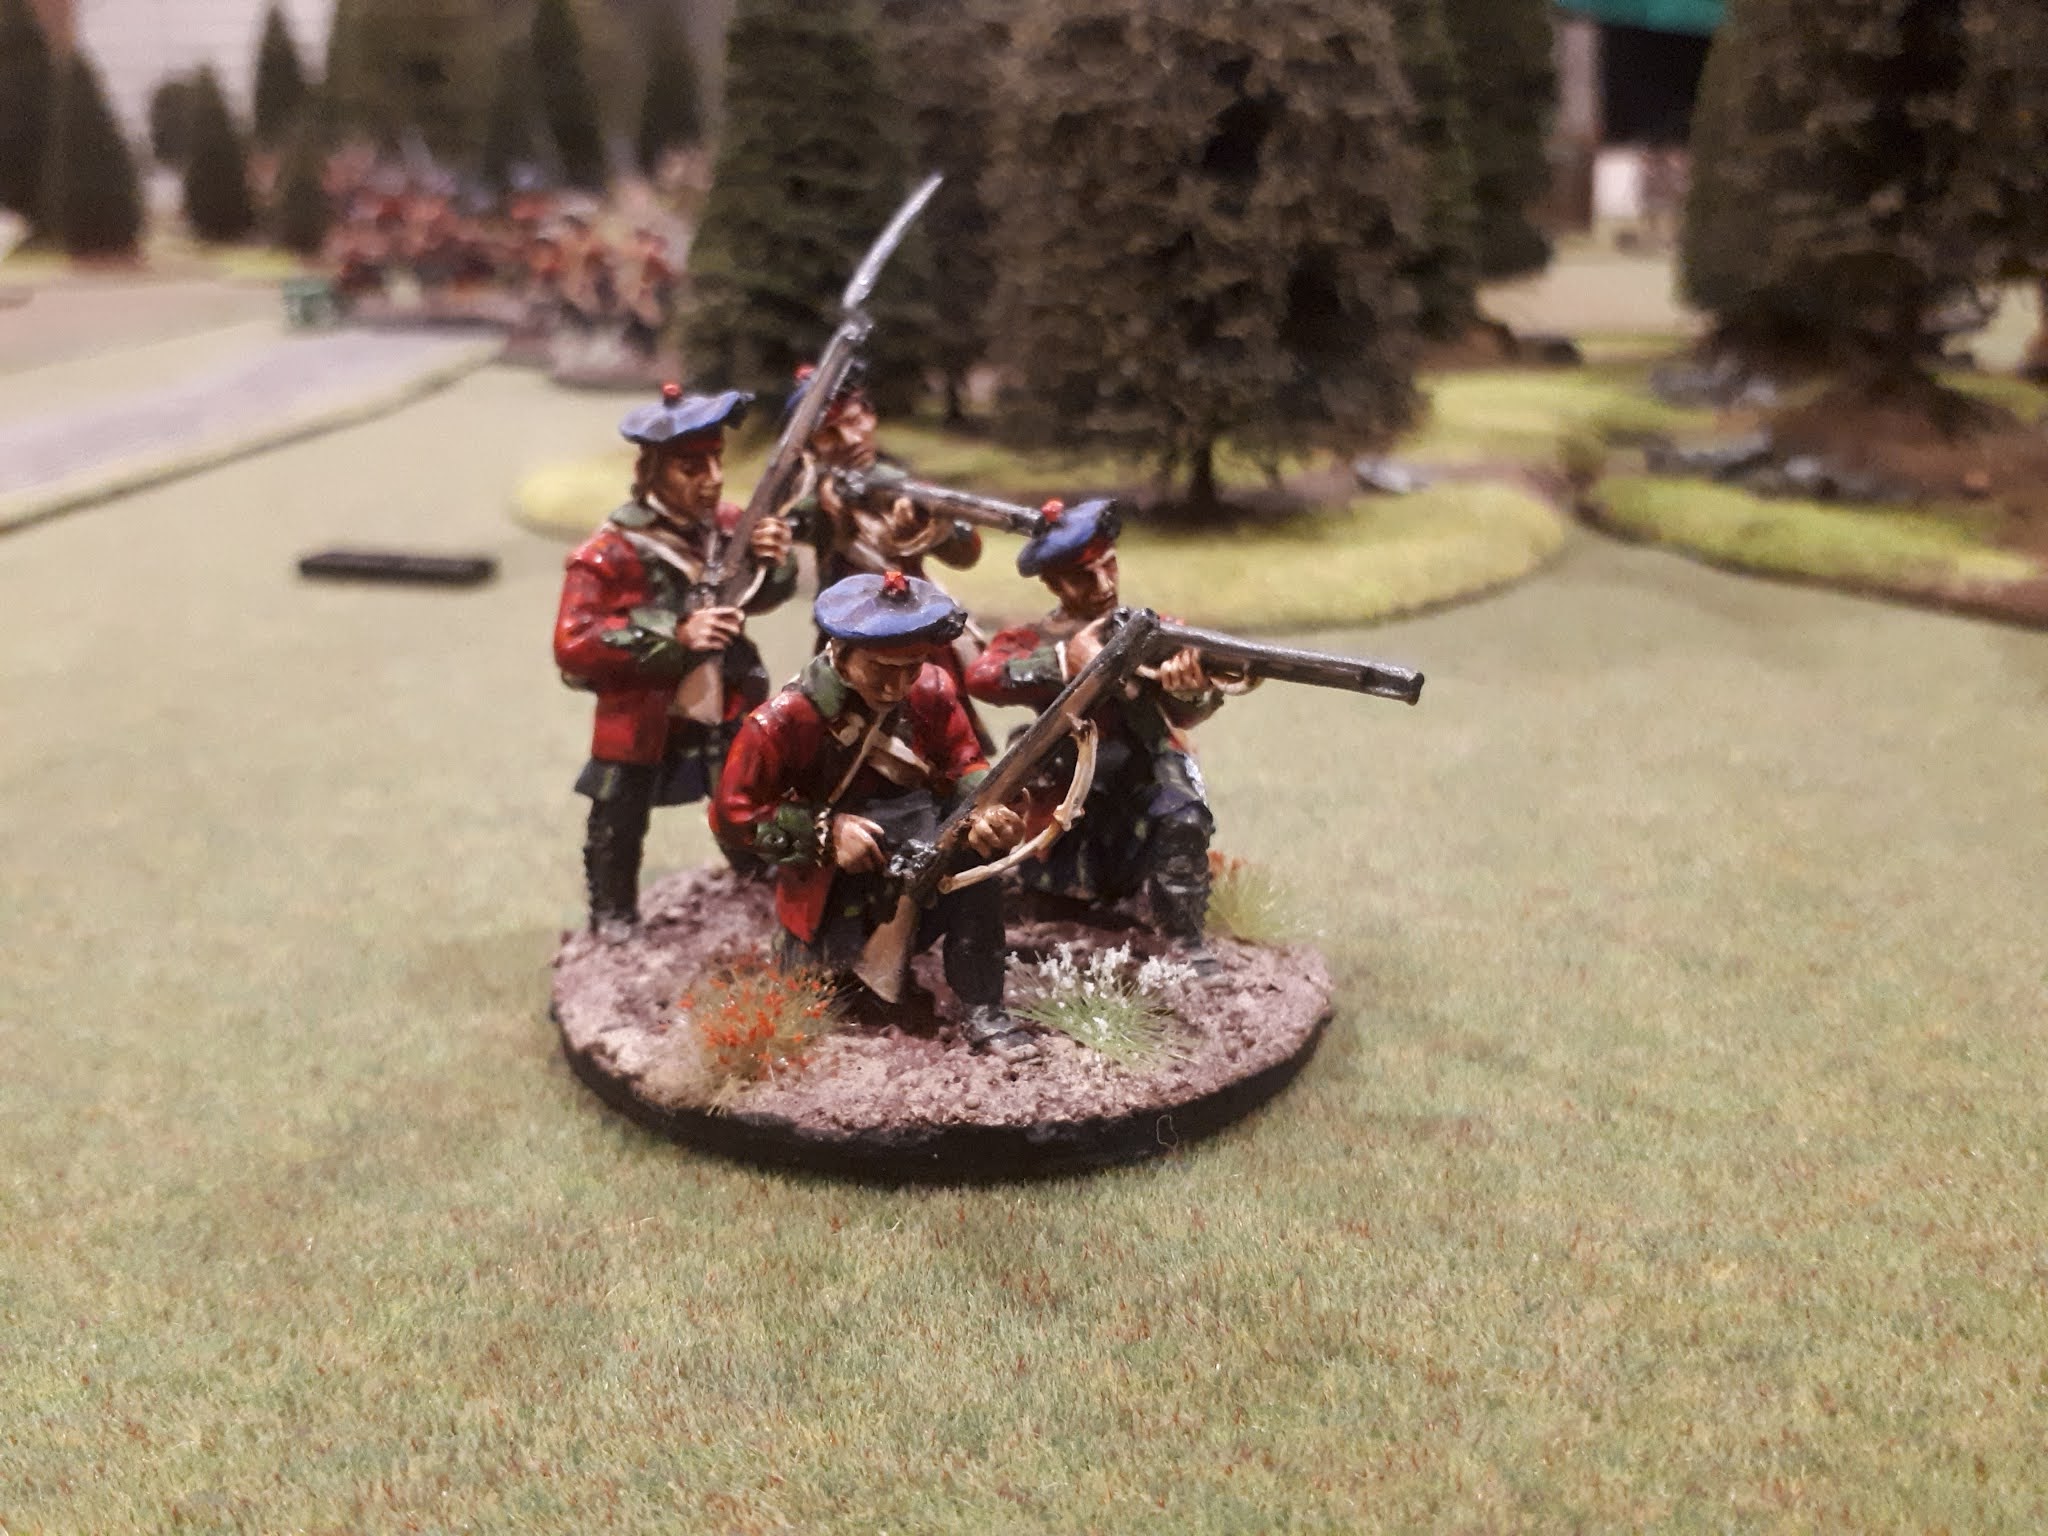
You can see why all that white lace caused a mental painting block. 


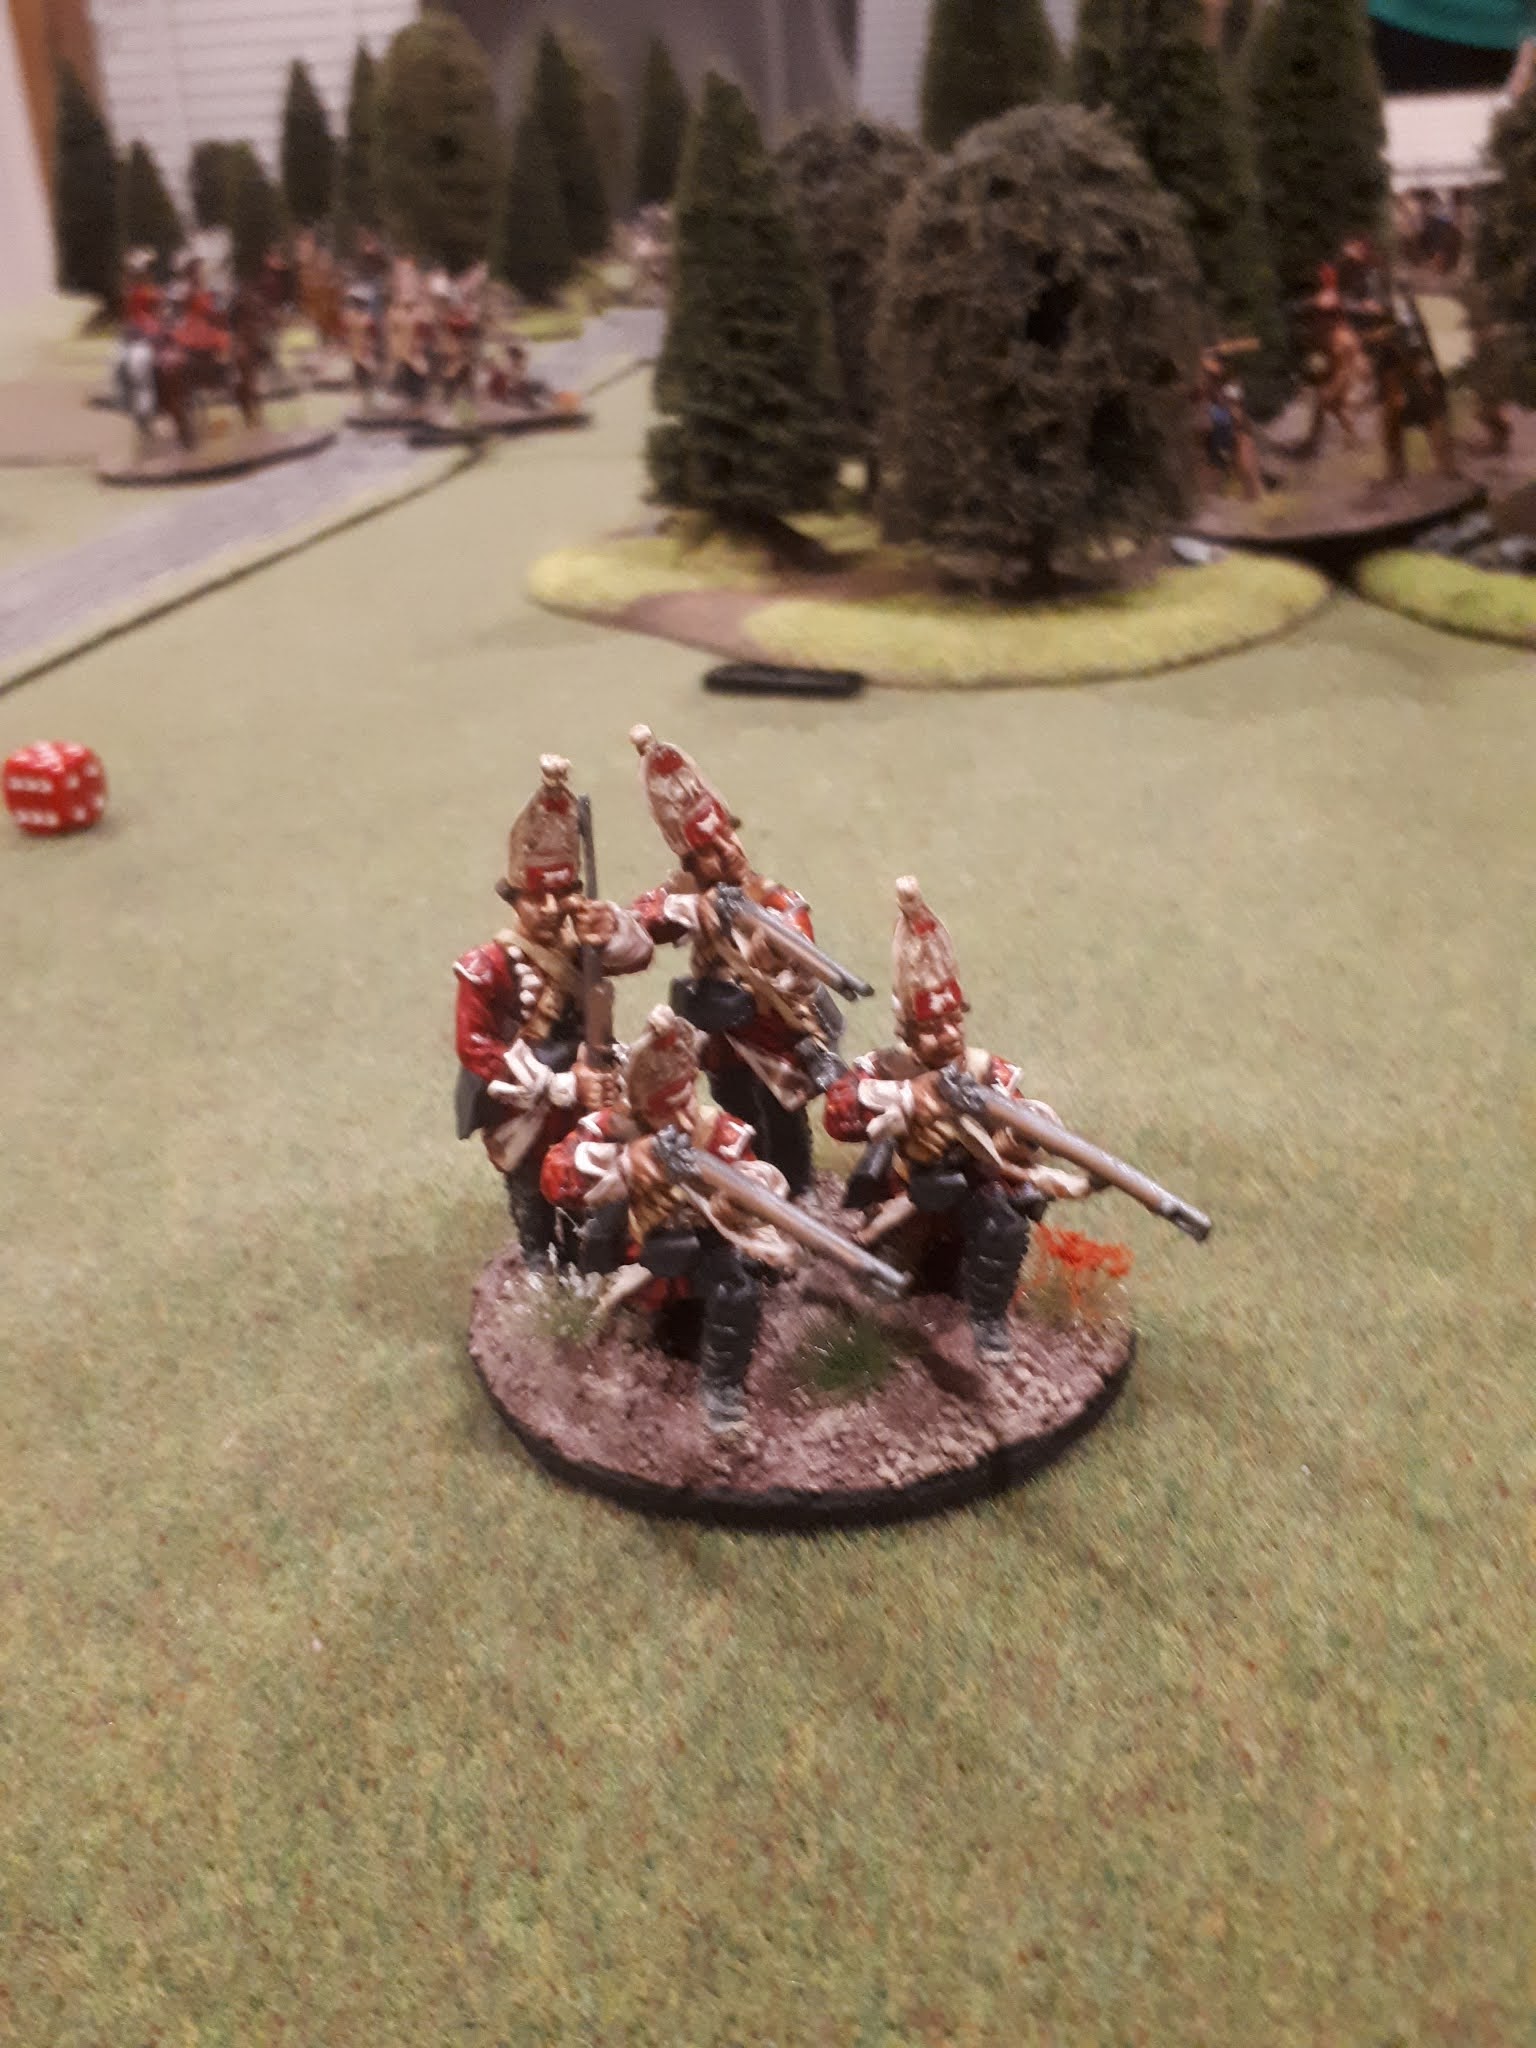
The grenadiers always add a bit of flavour to these units, but painting the lettering on their mitre caps can be tricky.
   I'm now painting up a French infantry battalion, which is far easier and quicker to paint...so hopefully it won't take me 6 months to finish like it did these blokes!

Until next time. 

Thursday 21 May 2020

Post-Lockdown 28mm ACW clash at the Mess

In celebration of surviving (at this stage) the COVID-19 lockdown here in New Zealand the Southern Strategists held a 28mm American Civil War clash at the Mess during this week. It was my turn to select what game and scale the game would be, so I decided on hosting an ACW game in recognition of the armies I had rebased over the lockdown. These had been damaged from the 7.1 magnitude earthquake Christchurch suffered in 2010 and to my shame I hadn't 'refitted' them until recently. I was also inspired from starting to read Shelby Foote's history of the war during the lockdown...although working from home ensured I didn't get as much reading as intended. I tried to keep the scenario simple and balanced so that the game could reach a conclusion within our time frame while giving both sides a chance to secure a victory: It's early 1862 and McClellan has sent a reconnaissance force south along the Manassas Turnpike to probe the Rebel defences. The force consisted of three brigades of infantry (consisting of three regiments), one regiment of cavalry, along with a battery of horse artillery. The Confederate force holding a small hamlet and crossroads along the turnpike consisted of two small small brigades of infantry (2 regiments each) and two entrenched batteries of artillery. A regiment of cavalry were also operating in the area and available to support the defence.
I thought the occasion required a special treat and it seemed to go down well with the lads. There wasn't a drop left by the end of hostilities.  

The lads ready to commence battle after a wee dram to warm them up. The Rebels were defending the hamlet on the left, while the Federals were advancing from the right.
Dixon Miniatures Union infantry advancing across one of my newly-acquired 'Killing Fields' terrain mats. This was the first opportunity I had to test them out  and thought they worked well at this scale or larger. The mats are actually a greener colour than what the camera has recorded.  

Looking along the Confederate defensive line.
The gabion baskets provide much needed hard cover for the Rebs defending the crossroads. I was also happy for the chance to use my newly created Rebel encampment in the background.  


The Federals advance across the open fields and with good dice throwing managed to push back the Rebel right flank.
The Confederate commanders, Rodger Wood (of Rebel Barracks blog fame) and the venerable Chris Packer, looking somewhat concerned at the situation...mainly due to poor dice throwing on their part! 

A Union infantry brigade advances on the Rebel right flank, supported by a regiment of dismounted cavalry further to the right.


A Confederate cavalry regiment (yet to be rebased) gallops to the sound of the guns in the hope of threatening the Union left flank. But alas, the Union battery of  horse artillery sees them off before they had a chance of crossing the bridge.

The Union cavalry and infantry advancing towards the Rebel left flank early in the game.
 With the Confederate right flank forced to retreat from the town due to heavy casualties, the position became untenable and the troops holding the left flank were forced to withdraw. So, a victory for the Union...but I'm sure the Confederates are already planning their revenge.

Until next time!

Saturday 2 May 2020

Great Northern War bash

A week or so before we went into lockdown in NZ the Southern Strategists had a Great Northern War game hosted in the Peter Gilder Lounge by the venerable Chris Packer at his abode here in Christchurch. For various reasons we only got part way through the game before we called it a night, not least due to the humour and banter that proliferated throughout the evening. However, I did manage to secure some images of the mainly Ebor Miniatures that make up Chris's collection and thought I should share them on my blog.
A Russian general leading his brigade on an attack against Swedes holding a village crossroad. 

Russian artillery firing at the Swedish troops defending the crossroads.

The Russian right flank attacking the Swedish left flank 

More Russians

A column of Swedish reinforcements moving towards the village. 

The Swedish held village under threat from Russian cavalry approaching from the right flank in the distance. A brigade of Swedish cavalry looking to stem the Russian attack. 

Swedish reinforcements and supplies moving toward the village. 

Swedish infantry defending the village.

Swedish infantry defending the left flank. I had command of these blokes and they did manage to engage with the enemy before time was called.

Russians infantry advancing on their right flank.

Russian infantry advancing on their left flank and having taken a few casualties for their Tsar.

These were superbly painted  armies and I look forward to gaming with them again once the blokes can get back together again.

Thanks for taking a look.

Until next time!